
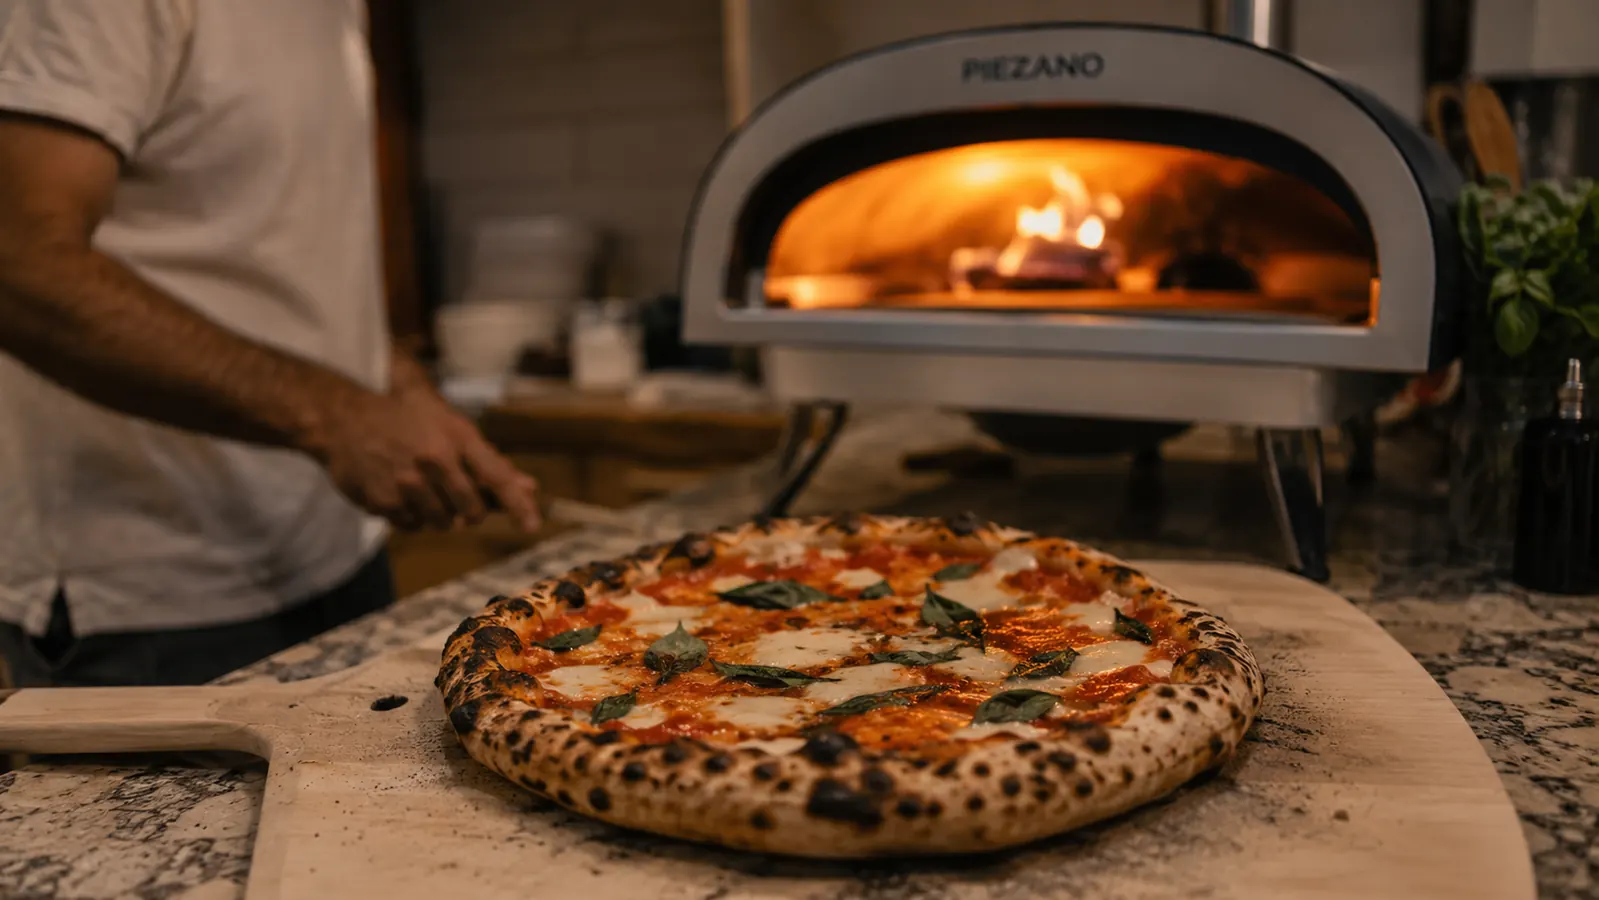
The first pizza I pulled out of my PIEZANO 12-inch electric pizza oven looked right from across the kitchen and then fell apart the second I picked up a slice. The crust drooped in the middle, the bottom had almost no color, and the edge that should have snapped when I bit into it just sort of folded. Not the crackling, leopard-spotted crust I'd pictured when I unboxed a countertop oven that promises 800 degrees on the box. That gap between what a pizza oven advertises and what actually shows up on your peel is the single biggest complaint I hear from people who buy one of these things. The oven isn't the problem. The way most of us feed it is.
After about four months and somewhere north of sixty pizzas on my PIEZANO, I've landed on a repeatable process that gets me a genuinely crispy, bakery-style crust almost every time, blistered spots, a shatter when you bite the edge, no soggy center hiding under the cheese. None of it requires anything you don't already have or can't grab for a few dollars. It comes down to five things: the dough, the stone, the toppings, the launch, and the rest before the cut. Get those right and an 800-degree ceramic stone does the rest of the work for you.
Still working with the stock settings? Here's the oven that makes this easy
The PIEZANO's 800F ceramic stone is built for exactly this kind of crust, you just have to feed it the right dough. Check today's price and see why it's become our go-to for Friday pizza night.
Amazon Check Today's Price on Amazon →Step 1: Build a Dough That Can Handle the Heat
A crust can only get as crisp as the dough lets it. All-purpose flour, the kind most of us have sitting in the pantry, runs around 10 to 11 percent protein, which is fine for pancakes but not enough gluten structure to survive an 800-degree stone without turning either cardboard-stiff or soggy in the middle. Bread flour, sitting at 12 to 14 percent protein, or a bag labeled 00 flour built specifically for pizza, gives the dough enough backbone to hold a thin, stretched shape and still puff at the edge into that airy, blistered rim you see on a real pizzeria crust.
My working recipe is simple: bread flour, water at about 65 percent hydration, a small pinch of instant yeast, salt, and a splash of olive oil. I mix it just until it comes together, then let it cold ferment in the fridge in a lightly oiled container for 24 to 48 hours. That slow ferment does two things a same-day dough can't. It develops flavor the same way a good sourdough does, and it lets the gluten relax and strengthen at the same time, so the dough stretches thin without tearing and springs back into a puffy edge instead of staying flat and dense.
Pull the dough out of the fridge at least an hour before you plan to cook, longer if your kitchen runs cold. Cold dough straight into a hot oven shocks unevenly and tends to brown on the outside before the inside sets, which is exactly the floppy-center problem I ran into on my first few tries. Letting it come to room temperature first is a five-minute habit that fixes more crust problems than any other single change on this list.
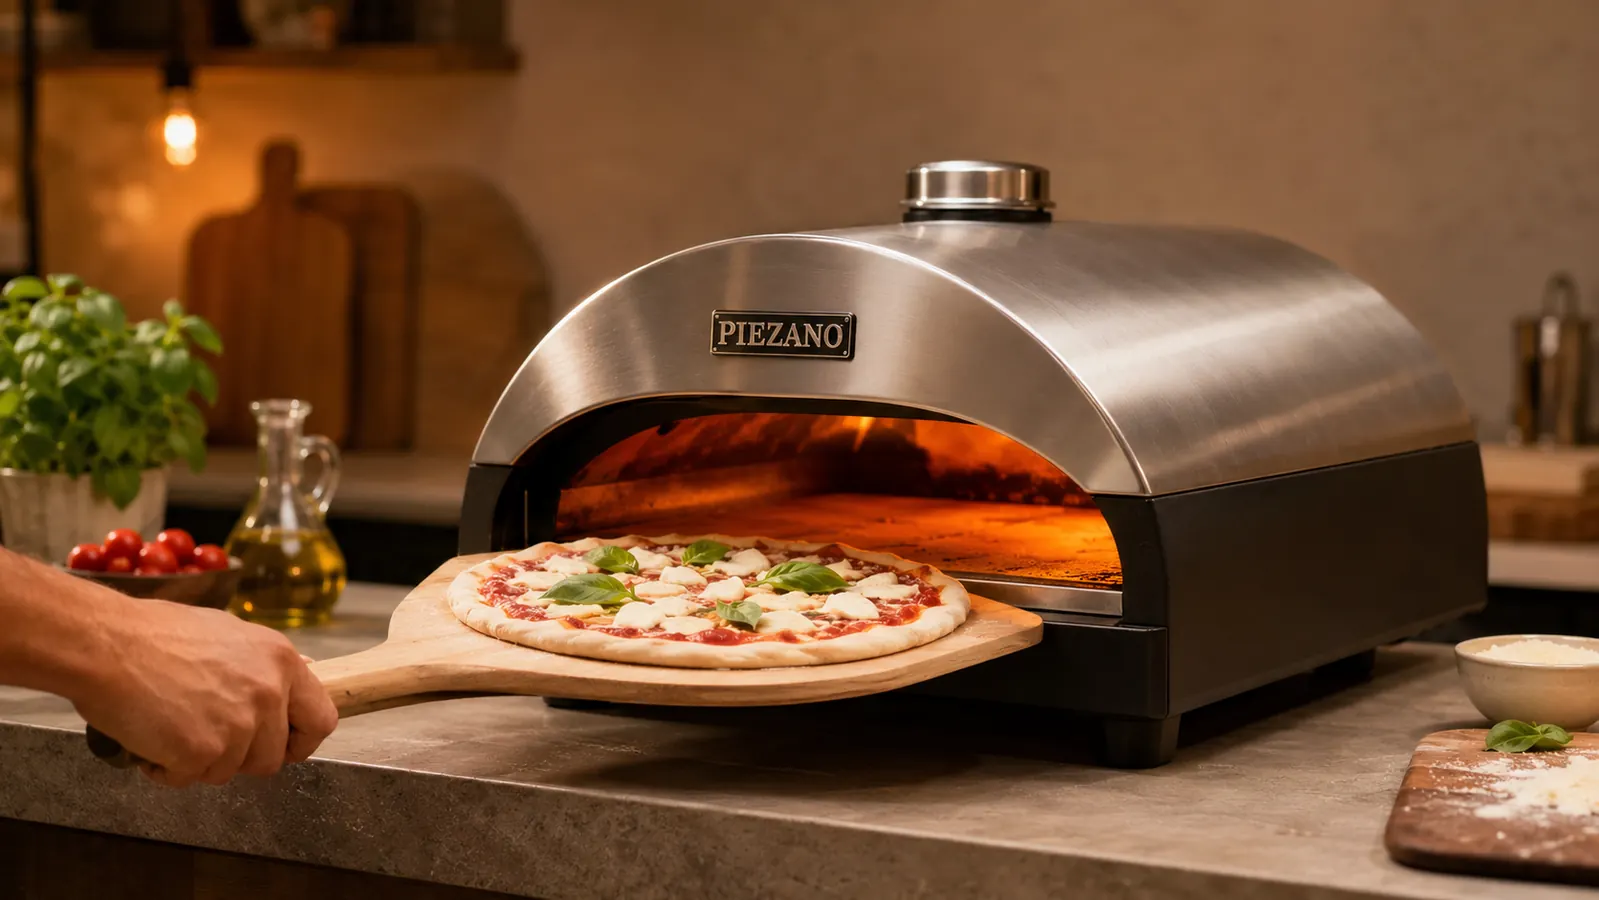
Step 2: Preheat the Stone Longer Than You Think You Need To
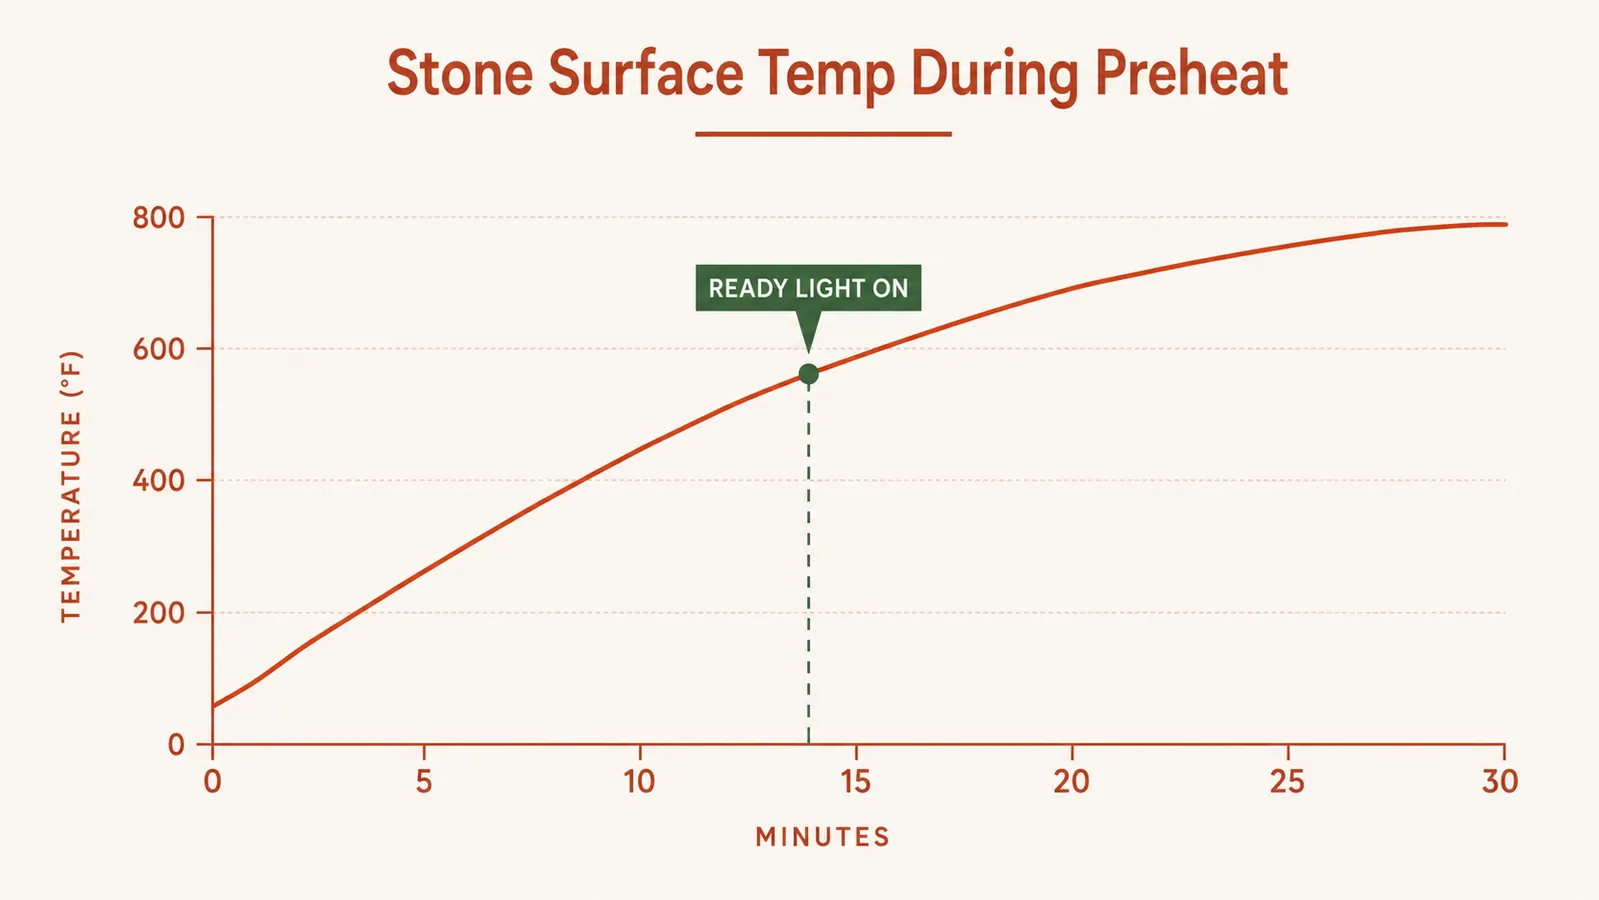
The PIEZANO's ready indicator light is honest about the air temperature inside the chamber, but the ceramic stone itself lags behind that number by a wide margin. Air heats fast. Dense ceramic heats slowly and holds heat once it gets there, which is exactly why a stone works so well for crust, but it also means the light turning on doesn't mean the stone is actually ready to sear dough on contact. I learned this the hard way with a string of pale-bottomed pizzas that looked underdone no matter how long I left them in.
Now I give the oven a full 20 to 30 minutes on its highest setting after the ready light comes on, not before. I picked up a cheap infrared thermometer for about twelve dollars and point it at the stone before the first pizza goes in. I'm looking for a surface reading somewhere between 750 and 800 degrees. Below 700, the crust bakes instead of searing, and you lose that dark, blistered char that separates a good countertop pizza from a decent one.
If you're cooking more than one pizza back to back, which is basically every Friday night at my house, give the stone a couple of extra minutes between pies to recover. The stone dips in temperature the moment a cold dough round hits it, and going straight into the next pizza without letting it climb back up gives you a noticeably paler second and third pizza compared to the first.
Step 3: Keep Toppings Light and Dry
A pizza oven this hot cooks fast, usually somewhere between 90 seconds and 3 minutes per pie, which means there isn't enough time for excess moisture from wet toppings to cook off the way it would in a slower conventional oven. Sauce that's too thin, fresh mozzarella straight out of the package without draining it, or a heavy hand with toppings in general all add up to steam trapped under the cheese, and that steam is what turns a crisp bottom crust soft and pale from the inside out.
I pat fresh mozzarella dry with a paper towel before it goes on, use a thicker, reduced sauce rather than straight canned crushed tomatoes, and keep my toppings to two or three things at most. Less is genuinely more here. A margherita with a thin layer of sauce, a modest amount of cheese, and a few basil leaves added after the bake crisps up beautifully. A pizza loaded with five toppings and a heavy pour of sauce almost always comes out with a center that never fully sets, no matter how hot the stone is.
One more detail that matters more than it should: dust your peel with semolina flour or coarse cornmeal, not regular flour, right before you build the pizza on it. Semolina has a coarser, more granular texture that acts almost like tiny ball bearings, letting the dough slide off the peel cleanly. Regular flour clumps and burns black on an 800-degree stone, which adds a bitter, scorched taste to the bottom crust that has nothing to do with the good kind of char you're after.
Step 4: Launch It Fast, Cook It Faster
Build the pizza directly on the semolina-dusted peel and don't let it sit there for more than a minute or two before it goes into the oven. Wet dough on a peel starts sticking almost immediately, and a pizza that sticks to the peel on the way in usually ends up folded or torn when you try to launch it, which is a mess nobody wants to deal with next to an 800-degree stone.
Give the peel a small shake before you commit to the launch. If the pizza slides freely, you're good. If it catches, lift that spot and add a pinch more semolina underneath before trying again. The launch itself should be one confident, quick motion, sliding the peel forward and pulling it back sharply to leave the pizza on the stone rather than dragging it off slowly, which tends to bunch the dough up on one side.
Once it's in, resist the urge to walk away. At 800 degrees, a pizza can go from perfectly charred to burnt in under 30 seconds. I check mine at the 60-second mark, rotate it a half turn with the peel so the side closest to the heating element gets a chance to catch up, and check again every 30 seconds after that. Watch the crust edge, not the cheese. The cheese will look done well before the crust has actually developed the color and char you want.
Step 5: Let It Rest 60 Seconds Before You Cut
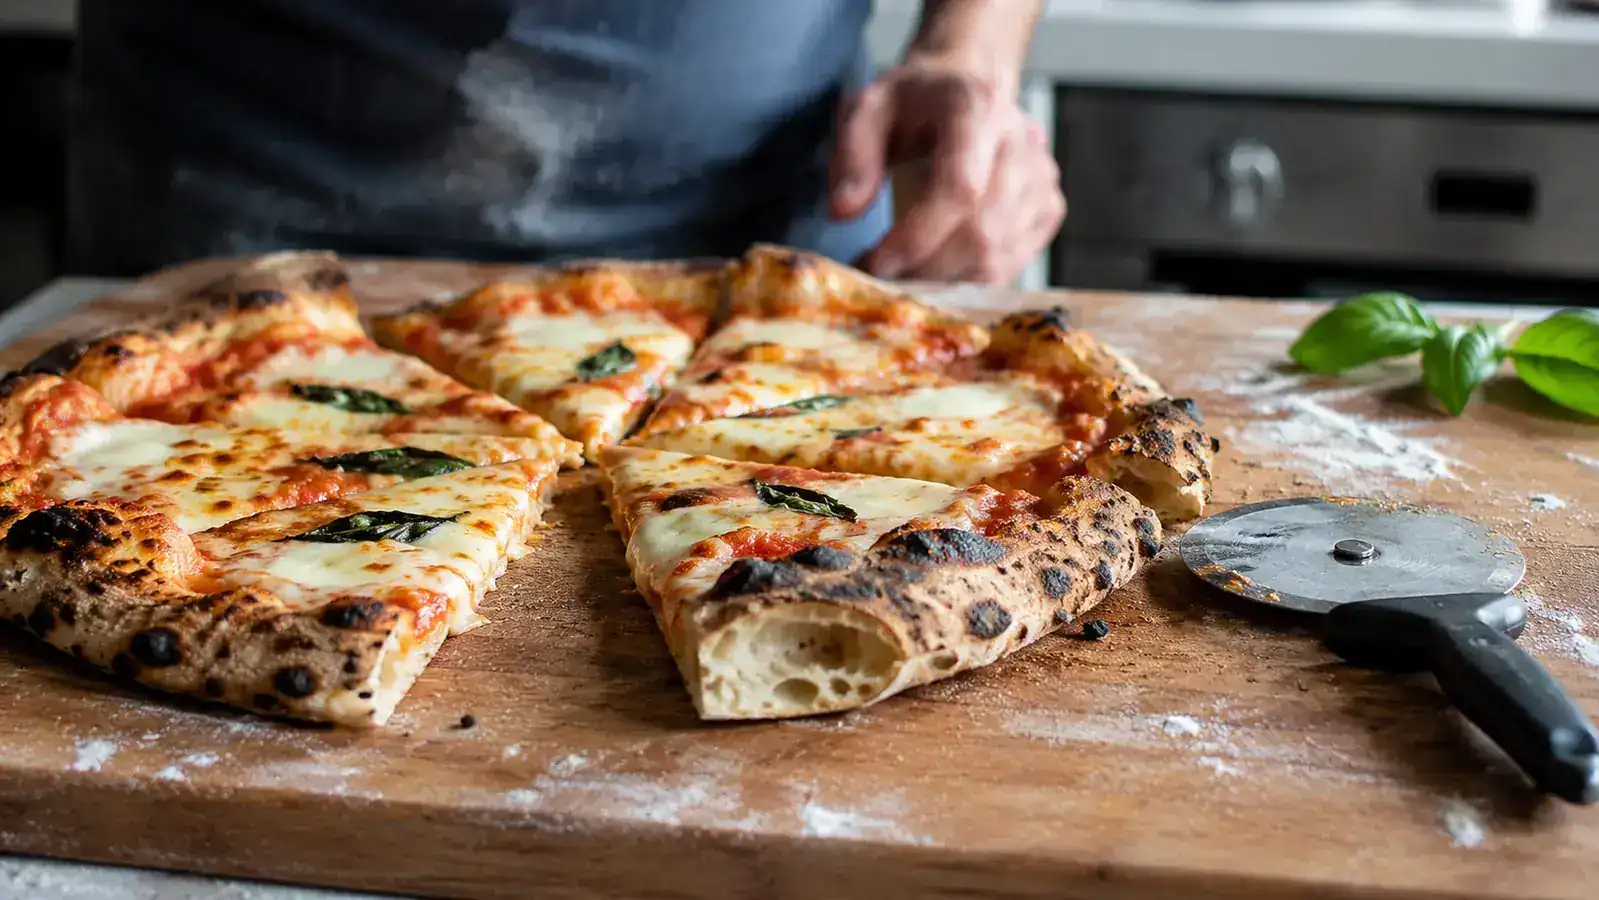
Pulling the pizza straight onto a plate and slicing immediately is the last mistake standing between most people and a genuinely crisp crust. Right out of the oven, the bottom is still releasing steam, and if that steam has nowhere to go, it condenses right back into the crust, softening exactly the texture you just spent five steps building.
I slide every pizza onto a wire rack instead of a cutting board or plate for about 60 seconds before the first cut. The airflow underneath lets that steam escape downward instead of pooling against the bottom crust. It's a small step, and it feels almost silly to wait when the smell is filling the kitchen and everyone's hovering with plates in hand, but the difference between a rack and a flat plate is noticeable the moment you pick up your first slice by the crust and it holds its shape instead of drooping.
What Else Helps
A few smaller factors round out the crust equation. Room temperature matters on both ends, warm dough goes into a hot oven more evenly, and a hot kitchen on a summer night can actually cause the dough to over-proof before it hits the stone, leaving it gassy and prone to large, uneven bubbles instead of the small, even blisters you want along the edge. I've also found that seasoning a new ceramic stone matters, running the PIEZANO empty on high for its first few uses seems to help the stone hold heat more consistently on later bakes, the same way a cast iron pan improves with use. Clean the stone with a dry brush once it's fully cooled rather than soap and water, since a ceramic stone can absorb moisture that turns to steam on the next bake and undoes some of what you're working for.
The crust told me everything I needed to know: it wasn't the oven that failed the first time. It was the dough asking for more time than I gave it.
None of these five steps requires a different oven or a specialty ingredient you can't find at a regular grocery store. What they require is treating the dough, the preheat, and the rest before the cut as tools instead of afterthoughts. On my PIEZANO, stacking all five, a properly fermented bread-flour dough, a fully preheated stone, lighter toppings, a confident launch, and a full minute of resting on a rack, turned an oven I was lukewarm on after that first floppy pizza into one I genuinely look forward to firing up every Friday. The crust that comes out now is the reason my kids stopped asking for delivery.
Ready for Friday night pizza that doesn't come from a delivery bag?
The PIEZANO gets the stone hot enough to make every step in this guide possible. Grab one and put these five steps to work this weekend.
Amazon Check Today's Price on Amazon →